TL;DR: Photograph artwork in even, consistent light with a parallel camera setup, shoot RAW at low ISO with a higher f-stop, correct perspective and color in editing, export at 300 PPI, and list with styled photos and clear specs to sell confidently online.
Selling art online starts with accurate, high-quality capture. Clear, color-true photos help buyers trust what they see and give you reliable masters for print editions. This guide walks through capture, editing, and listing tactics, so your work looks professional and sells more easily.
Why great photography drives online sales
Your images stand in for the original. Sharp focus, correct perspective, and faithful color reduce returns and build confidence. For a capture overview, see How to Digitize Your Artwork for Professional Printing.
Gear that works (without overspending)
- Use the best camera you have: Recent phones can work in good light. For large reproductions, a mirrorless or DSLR gives better dynamic range and detail.
- Lenses: A normal or short telephoto prime (50–85 mm full-frame equivalent) minimizes distortion. Avoid ultra-wide lenses.
- Stability: A tripod keeps the camera square. Use a timer or remote to avoid shake.
Lighting for accurate color and texture
- Natural light: Place the artwork near a bright window with indirect light. Avoid direct sun and mixed color temperatures.
- Artificial light: Use two identical, diffused lights at roughly 45° to the artwork to reduce glare. Softboxes or diffusion panels help.
- Reflections: For glossy varnish or framed glazing, adjust angles or remove glazing to prevent reflections.
Square, distortion-free setup
- Keep the sensor parallel: Level the camera and center it, perpendicular to the artwork. The edges should look perfectly rectangular in frame.
- Fill the frame: Leave a slim margin to crop later. Avoid skewed backgrounds.
- White balance: Include a gray card for a reference shot. Use it to set white balance, then crop it out.
Capture settings for clean masters
- Format: RAW for maximum latitude.
- ISO: Lowest your light allows, often ISO 100–400.
- Aperture: f/8 to f/11 for edge-to-edge sharpness.
- Shutter: Let it fall where needed. Tripod and timer prevent motion blur.
- Focus: Single-point or manual focus on the artwork plane. Check at 100% zoom.
Editing workflow that matches the original
Open your RAW files in Adobe Lightroom, Adobe Photoshop, or similar software. Build a consistent workflow so results are repeatable across pieces.
- Straighten and crop: Make sides parallel, corners square, and remove background.
- Perspective correction: Fix keystoning with transform tools.
- White balance and tone: Neutralize color casts, then adjust exposure and contrast to match the artwork.
- Color refinement: Use Vibrance and Saturation sparingly to preserve fidelity.
- Spot cleanup: Heal dust, lint, and non-art defects.
- Gentle sharpening: Add light capture sharpening. Avoid halos and crunchy noise.
For resolution and exports, read Mastering Image Resolution for Picture-Perfect Prints and Image Export Settings.
Export settings for printing
- File: TIFF or high-quality JPEG, depending on your workflow.
- Color space: AdobeRGB (1998) is a practical choice for print workflows.
- Resolution: 300 PPI at intended print size.
- Resizing: Only resize when targeting a specific size you have validated for quality.
When you are ready to order, follow our step-by-step guide, How to Print Your Art.
Turn captures into products buyers love
Offer a range of print options to reach more budgets and spaces:
- Giclee Fine Art Prints for museum-grade papers and color fidelity.
- Photo Prints for vivid gloss, luster, or matte finishes.
- Loose Canvas Prints when you plan to stretch or frame later.
- Gallery Wrapped Canvas Prints that arrive ready to hang.
- Mounted Prints for a clean, flat presentation that frames easily.
Listing tips that increase conversions
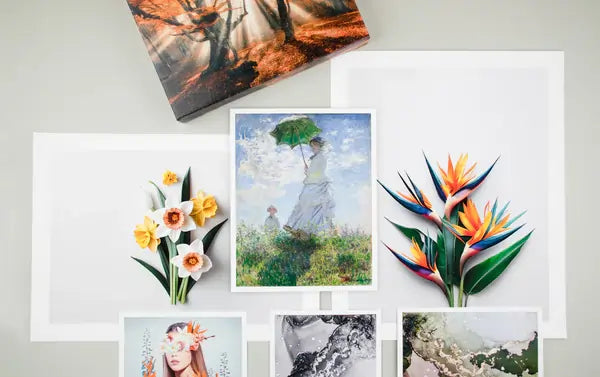
- Show lifestyle photos: Stage the artwork in a well-styled room so buyers can visualize scale and mood.
- Communicate size: Include a person or common objects for reference. Add exact dimensions in the description.
- List specs clearly: Paper or canvas type, finish, matting or mounting details, and framing notes.
- Offer editions: If you number editions, include edition size, signature location, and a certificate policy. For pricing help, see How to Price Art: 5 Essential Tips for Artists.
Want to compare papers and textures before you list? Request our Free Media Sample Set to feel the surfaces that make your images shine.
Ready to turn accurate captures into reliable sales? Start with Giclee Fine Art Prints or build a gift-ready lineup with the Packaged Prints collection.


