


How long do giclee prints really last? Learn how light exposure, materials, and real-world conditions affect print longevity.

Christopher Abbott
March 23, 2026 · 8 min readThe Printery Press Blog
Printery Press Articles

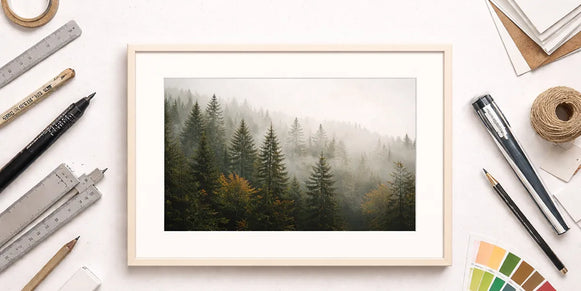
How Long Do Giclee Prints Really Last? What Museums and Science Actually Say
How long do giclee prints really last? Learn how light exposure, materials, and real-world conditions affect print lo...

Christopher Abbott
Mar 23, 2026
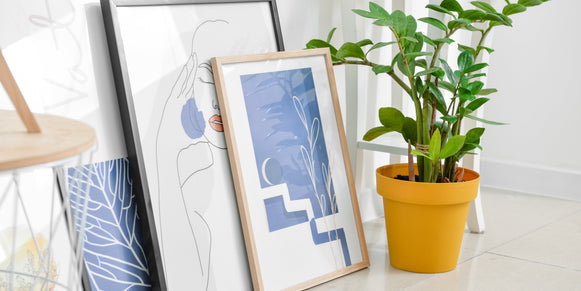
Borders & Sizing for Fine Art Prints: 5 Costly Mistakes (and How to Avoid Them)
Choosing the right border affects how your artwork is printed, framed, and displayed. Learn the most common border mi...
Christopher Abbott
Jan 03, 2026
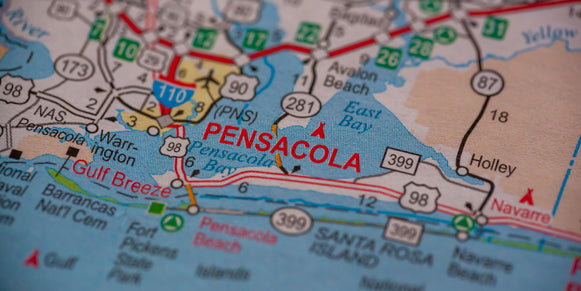
Can I Visit The Stackhouse Printery in Person?
Yes, you can visit The Stackhouse Printery! Book a shop appointment or consultation in Pensacola, Florida.

Sam Earley
Oct 30, 2025

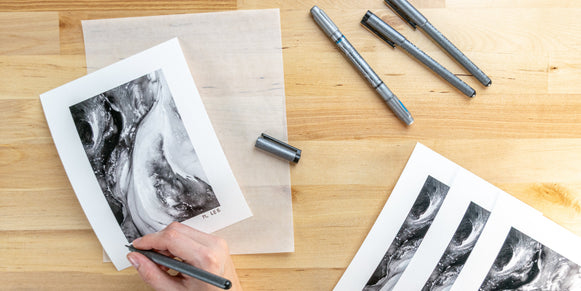
How to Digitize Your Artwork for Professional Printing
Learn the basics of scanning or photographing your original artwork to create high-quality digital files for giclee p...
Sam Earley
Oct 22, 2025
How Many Print Sizes Should I Offer for Each Piece?
Learn how many print sizes to offer per artwork and how to choose options that sell. Are too many size options good o...
Sam Earley
Oct 17, 2025
How to Choose Between Canvas Prints and Photo Prints?
Navigating the world of print options? Canvas and traditional photo prints each carry their charm. Whatever your visi...
Sam Earley
Oct 01, 2025
What Size Print Should I Offer for My Art Prints?
Unsure what sizes to pick for your art prints? This quick guide can kickstart your planning.
Sam Earley
Sep 11, 2025

Which Print Format Sells Best at Art Fairs and Markets?
Explore our recommended print formats and sizing for effectively selling your art prints at fairs and craft markets.
Sam Earley
Sep 09, 2025
What’s the Difference Between Limited and Open Edition Prints?
Want to step up your print game? With these tips, you can learn the difference between 'limited' and 'open' edition p...
Sam Earley
Aug 28, 2025
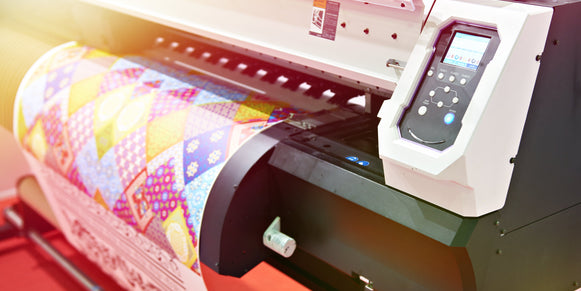
Giclee vs. Photo Prints: What’s the Difference?
Learn how giclee and c-type prints compare in quality, durability, and cost. With this guide, you can infer the best ...
Sam Earley
Aug 27, 2025

What File Format Should I Upload for Printing?
Learn which file formats are best for fine art and photo printing, including the pros and cons of TIFF, JPG, and PNG.
Sam Earley
Aug 27, 2025
How Do I Crop My Artwork for Different Print Sizes?
Review our helpful tips for cropping your artwork to match popular print sizes without distortion.
Sam Earley
Aug 25, 2025