
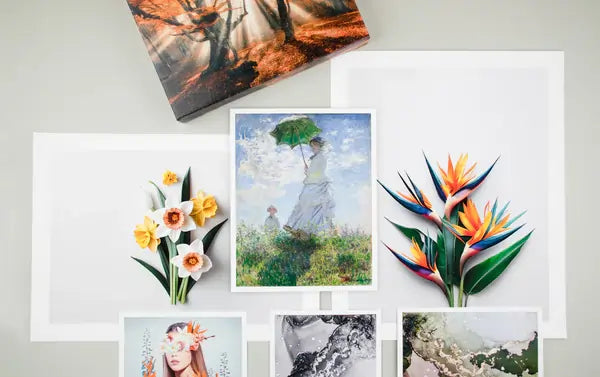


Are you an artist who wants to get their painting off the easel and onto the wall? Or are you a collector who scored a bargain on a rolled print, and you’re stuck on what to do next? Thankfully, DIY solutions for framing canvas paintings and prints are relatively affordable, but they take a little knowledge and handiness to do properly. In this article, we’ll walk you through stretching and framing a canvas painting or print so your art gets the finishing touch it deserves.
Rolled Vs. Stretched Canvas
The process for framing a canvas painting is first going to depend on whether your painting has been pre-stretched. Canvas art that has been rolled for sale instead of stretched over a frame tends to be a little bit more affordable since the labor of stretching it is left to the buyer.
If your canvas has already been stretched over a stretcher bar frame, skip down to the end of the article to learn how to select a finishing frame for it.
If not, you’ll need to first stretch your canvas over a stretcher bar frame to prepare it for final framing and hanging.
How to Stretch a Rolled Canvas Painting or Print
Materials You’ll Need
- Tape measure
- Staple or nail gun
- Stretcher bar frame
- A large, clean work surface
Step 1: Unroll your canvas paint-side down on a clean surface
Step 2: Measure the height and width of your canvas
Measure your canvas to determine what size stretcher bar frame you’ll need. Keep in mind that you’ll need at least two inches of canvas to fold over the frame on each side, so your stretcher bar frame should be large enough to display nearly the entire image while allowing for at least two inches of wrapping on each side.
Step 3: Make or purchase your stretcher bar frame
If you’re exceptionally handy, you can make your own stretcher bar frame. However, many art supply and framing shops have DIY stretcher bar frame kits you can purchase if you don’t have access to your own wood shop.
Step 4: Place your stretcher bar frame over your canvas
Your canvas should be paint-side down, and your stretcher bar frame should be placed so there’s an even two inches or more of canvas around it on all sides.
Step 5: Fold the sides of your canvas over the frame
Start on one side of your frame and fold the excess canvas over the frame, making sure it’s flush with the frame but not pulling too hard. Put a single staple in the center of the frame. Repeat on the opposite side until the canvas is folded and stapled to all sides of the frame.
Step 6: Lightly stretch the canvas
Now, gently stretch the canvas over the frame on either side of the center staple, adding staples along the frame towards each corner as you stretch the canvas taut. Don’t pull too hard as you want the canvas to have a little give so it can shrink and expand with the climate. Repeat on all sides.
Step 7: Fold the corners
At each corner, tuck one side of the canvas under the other to finish the corner. Cut the excess and secure it with a staple.
And that’s it, now your canvas is stretched and ready for framing! Or, if you prefer, you can hang it as is for the classic gallery-wrapped look.
How to Frame a Canvas Painting or Print
To properly frame your canvas artwork, you’ll first need to select which type of frame works best for your artwork and décor.
Common frame types include:
- Wood picture frames
- Metal frames
- Floater frames
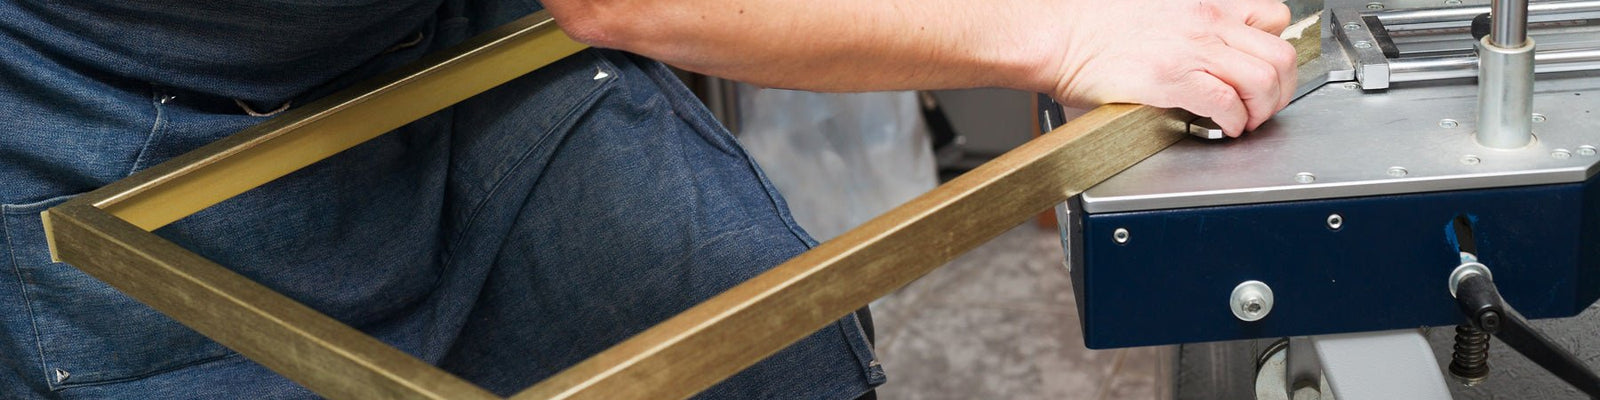
When selecting your frame, in addition to choosing the right design, you’ll also need to choose the right thickness to match the thickness of your stretcher bar. This measurement on frames is called the rabbet. Always check to make sure the rabbet depth of the frame matches that of your stretcher bar before attempting to frame your canvas.
For a more classic gallery look, ornate wooden frames can really add another layer of visual interest to your wall and artwork.
For sleeker, more modern art and finishes, many people opt for slim metal or floater frames that don’t draw the eye away from the art but still give it a nice “finished” look.
Ultimately, the frame you choose is entirely up to your design style and budget; just be sure that you pick one that has enough room to accommodate your painting.
Don’t Have the Time or Tools for DIY Framing? Try These Solutions Instead!
If you read through this article and the thought of tugging on canvas and wielding a staple gun sounds exhausting, there are other simpler ways to get the “gallery look” without all the hassle.
-
Take your artwork to a professional framer
Framing professionals can stretch your canvases for you and help you select the perfect frame and mounts for your artwork and budget. This can be a pricier solution, but it ensures there won’t be any DIY mishaps that could potentially ruin your artwork and will save you a ton of time.
-
Purchase a mounted print
If you’re an art lover who loves the look and feel of canvas but doesn’t have the budget for original art, purchasing a canvas print of your favorite artist’s work mounted on sturdy foam will allow you to emulate that framed gallery look at a fraction of the cost.
-
Purchase a gallery-wrapped print
Do you love that stretched canvas look? You can also purchase prints of your favorite artwork that are pre-stretched over a stretcher bar frame for the full gallery-wrapped canvas effect! These can be hung as-is or framed exactly like you would any other canvas artwork.
Need Help Selecting the Right Print for Your Gallery? We’re Here to Help!
Our experts at The Stackhouse can help you select the perfect paper, finishes, and mounting options for all your artwork. Give us a call or fill out our contact form to get in touch with our team so we can help you put the finishing touches on your masterpieces.
Leave a Comment