Selling artwork online is a booming business, with billions of dollars in art sales happening online each year. For artists who want to reach more buyers, the first step is to move your art online.
In this article, we will show you how to photograph your artwork like a pro. We will give you tips on taking photos for prints. We will also cover how to market your art online. This way, you can turn your talent into cash!
Why High-Quality Photography is the Key to Selling Artwork Online
High-quality photography is critical when selling artwork online. Clear images that show your work will help potential customers understand what they are buying. They will also appreciate the small details in each piece.
Choosing the Best Camera for Photographing Artwork
There's a saying that the best camera to use for a task is the one you have. If you only have an iPhone, you can still take good pictures of your art. This will help you start selling online.
If you want better results or need to make large prints of your photos, a DSLR with an optical zoom lens is a great choice. It will give you sharp images that make your artwork stand out. You can also create detailed and accurate prints.
How to Photograph Artwork for Prints
If you are taking photos of your art for high-quality prints, here are some tips. These will help you get the best image. This way, your prints will look as good as the original.
Use a DSLR with an Optical Zoom Lens
You want your prints to retain as much detail as possible. Phone cameras have improved a lot. However, to get very clear images that can be printed, you need a DSLR. A DSLR should take pictures of at least 12 megapixels (12MP). Pairing this with an optical zoom lens will allow you to frame your print perfectly without losing any details.
Pay Attention to Lighting
Lighting is very important for a great image. The good news for artists on a budget is that natural light works best for artwork. If possible, photograph your artwork near a window or even outside. Make sure to position your artwork so that the light falls across it evenly.
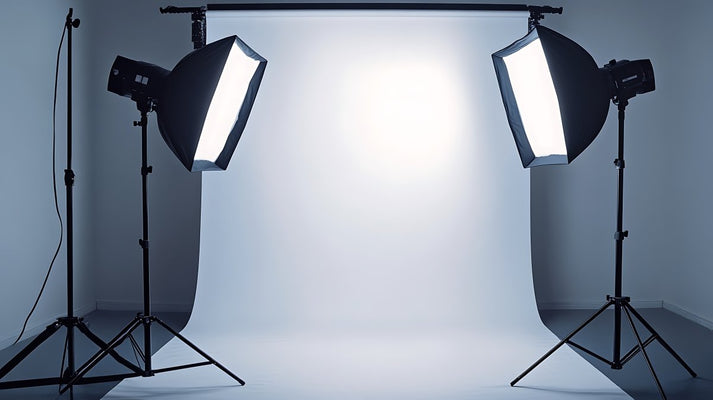
If you can't take photos in natural light, consider getting a photography light with a softbox or diffuser. This will help create soft, natural-looking light.
Set up and position your camera properly
Here are some suggested camera settings for sharp print photography:
- Position your camera directly parallel to your artwork
- Choose the lowest ISO possible for your lighting conditions, ideally 100-400 ISO
- Choose a higher f-stop to ensure the whole image is in focus, ideally an f8 or higher
- Frame your artwork with about an inch of space around it. This gives you room to crop or straighten your image later
How to Edit Your Images
Once you've taken your shots, now it's time to edit them to remove any distortions and other flaws in the image.
To edit your images, you need photo editing software. You can use Adobe Photoshop, Adobe Lightroom, or the Mac Photos app.
Once in your editing software of choice, these are the tools you'll want to explore to get the most out of your artwork images:
- Crop/Straighten: This will allow you to straighten your image and remove any extra space around your artwork, which will be necessary for prints
- Saturation/Vibrancy/Contrast: These are color sliders you can adjust. They help ensure the colors in your image match your artwork
- Healing Brush/Spot Removal: This tool helps you remove dust, scuffs, or other small flaws in the image that aren't part of the artwork
It may take some time to learn these tools if you are new to photo editing. However, with practice, you will find a fast way to edit. You can use this method again to make your images stand out.
How to Sell Fine Art Online
Online art sales have made it easier for people to buy original art. They also help artists reach more customers than traditional galleries.
To maximize your earnings and reach the most customers, try implementing these strategies:
Explore Prints and Digital Files
Selling original artwork is often the main goal for artists. However, the price of original art is too high for most buyers. Adding prints or digital files of your work can help you reach more customers and boost your income.
You can offer a variety of print types to suit different aesthetics and budgets, including:
Photograph Your Artwork in an Aesthetic Space
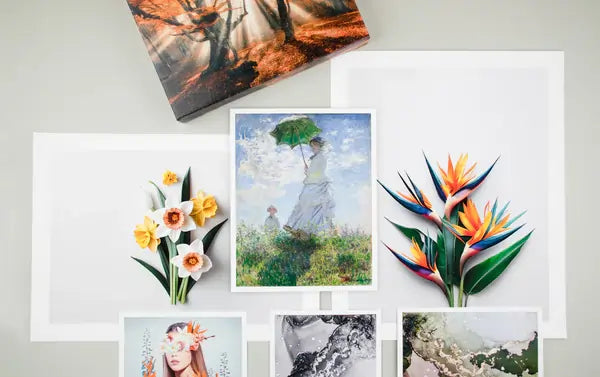
It is important to have a clear image of your artwork. If you want to sell large prints or originals, include photos of the art displayed in a nice setting. This helps potential buyers see how your art might look in their own space.
Including a person or common household objects in the picture can help buyers see the size of the artwork. This can help them make a better decision and buy with confidence.
Sell Your Artwork on Multiple Marketplaces
Listing your art on multiple online marketplaces can increase your reach, especially when you're just starting out. Explore different platforms that specialize in selling handmade products and see which ones are the right fit for your business.
No matter if you create soft watercolors or strong inks, there is a buyer who will love your art! And if you're looking for stunning, color-accurate prints, check out our full range of print products that will make your work shine!


Leave a Comment